Beginner’s Guide to Patchwork Quilting (For Event Volunteers)
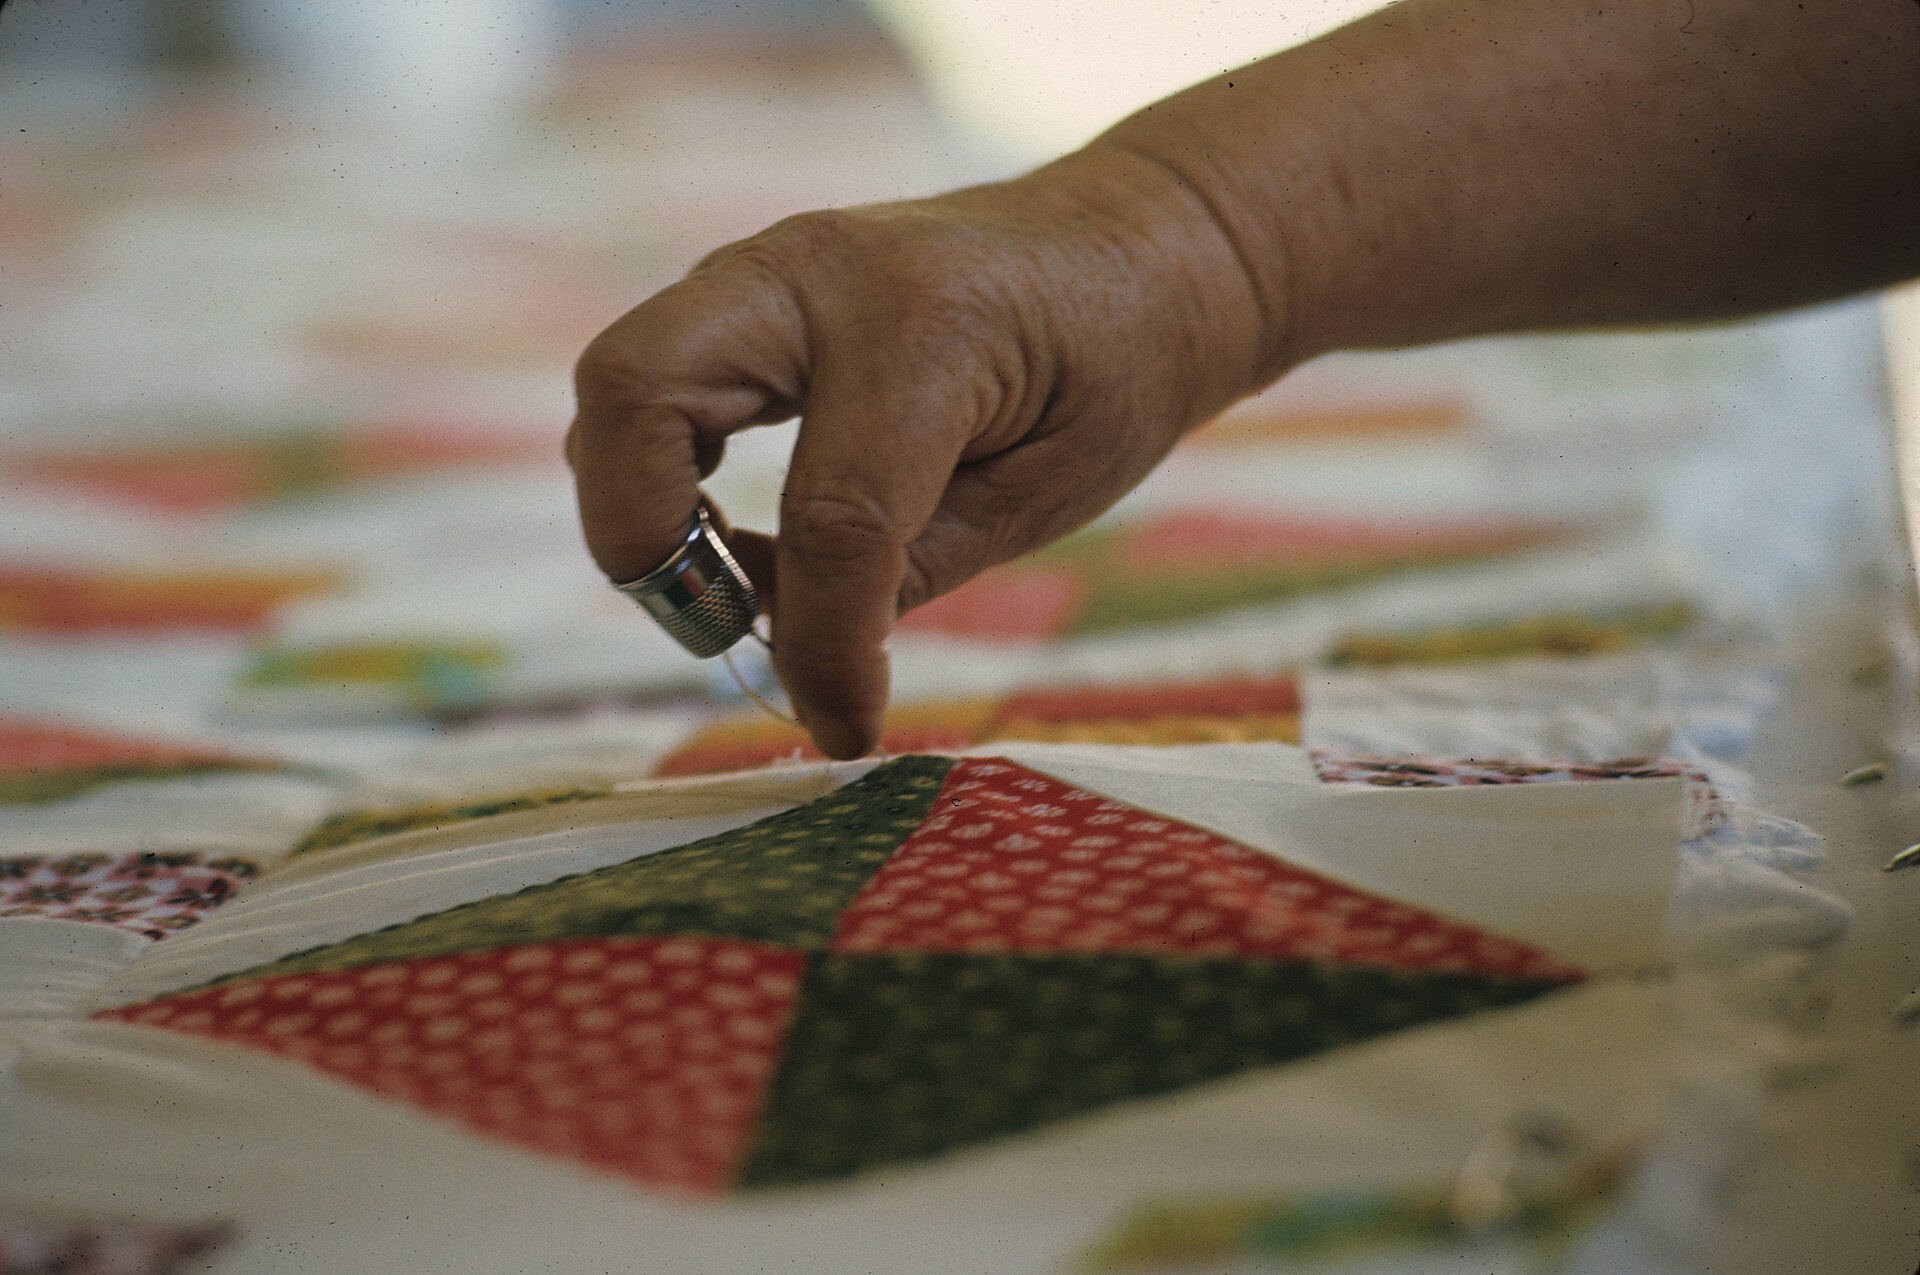
Patchwork quilting is the friendly, puzzle-like side of quilting: you join smaller fabric pieces to make a larger block, then join the blocks into a finished quilt. If you are volunteering at a community sewing day, that is the short version you need. The rest is mostly learning the plain version of the terms so you can follow along without feeling like everyone else got a secret handbook.
This guide walks through the basics for beginners, with simple definitions, practical tips, and a few places to get help if you are learning from experienced volunteers. If you want the broader site overview first, start at the homepage or visit Support when you need a hand finding the right contact.
1. Materials overview: what you actually need
Most patchwork projects use three basic layers: the top, the middle, and the backing. The top is where the patchwork pattern lives. The middle is batting, which is the soft filling that gives the quilt warmth and a little loft. The backing is the fabric on the back side of the quilt.
For fabric, beginners usually do best with woven cotton because it behaves predictably, cuts cleanly, and presses well. Some projects mix prints, solids, and coordinated background fabric. A volunteer table often has scraps, precut squares, or strips ready to go, so the main job is usually matching pieces carefully rather than hunting for the perfect designer fabric. Quilting is surprisingly democratic that way.
Thread matters too. A basic all-purpose cotton or polyester thread is common for beginner work. If the thread is too thick, the seams can look bulky. If it is too flimsy, it may break more easily. For most practice blocks, a dependable medium-weight thread is the plain answer.
If you want a broader craft primer, the Quilting overview on Wikipedia gives a helpful map of the basic vocabulary, while The Spruce Crafts quilting guide explains the three-layer structure in beginner-friendly language.
2. Basic block concepts: the building blocks of patchwork
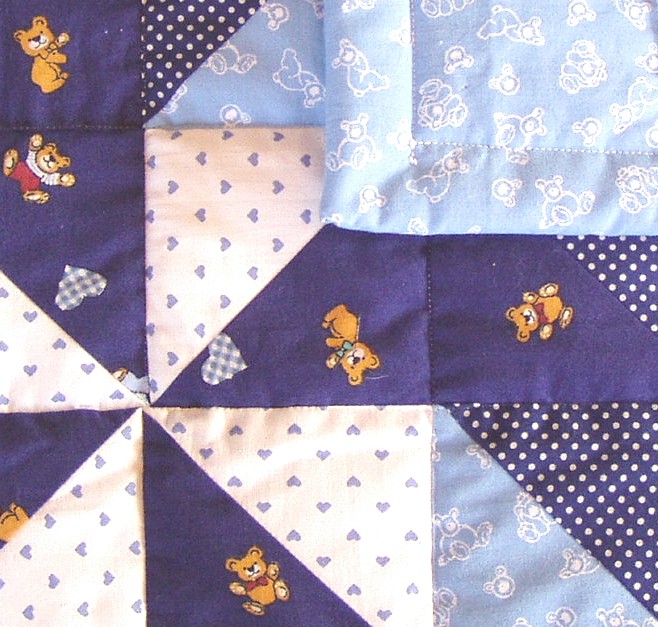
A quilt block is a finished section of the quilt top. Think of it like one square tile in a larger mosaic. Several blocks are sewn together to form rows, and the rows are joined to make the quilt top. Some blocks are simple squares, while others use triangles, rectangles, or a mix of shapes.
Common beginner shapes include squares and half-square triangles. A half-square triangle is exactly what it sounds like: one square divided diagonally into two triangles. It shows up everywhere in patchwork because it is a small shape with a lot of pattern-making power.
When volunteers arrange blocks, they usually sort them by color, size, or pattern placement. Laying everything out before sewing helps you see whether the design feels balanced. If one corner looks too busy, swap a print for a calmer fabric and check the overall flow again.
For a more visual reference on how quilts are assembled, the Quilting Daily quilting 101 resource is a useful reference point for common block and layout terms.
3. Tools you might use at a volunteer table
You do not need a full craft studio to help. The usual starter tools are simple: scissors, a rotary cutter if the group uses one, a cutting mat, a ruler, pins or clips, and an iron for pressing seams. Each tool has one clear job, which is part of why quilting is such a nice beginner project. The tools do not hide their motives.
- Scissors: used for trimming thread and cutting small pieces.
- Rotary cutter: a wheel-style cutter that helps make straight cuts faster when used with a mat and ruler.
- Cutting mat: protects the table while giving the rotary cutter a safe surface to roll on.
- Measuring ruler: keeps blocks and strips the right size.
- Iron and pressing surface: flatten seams so pieces sit neatly together.
If you want to see how sewing tools are explained in a broader craft setting, All People Quilt’s basic quilting tools guide is a practical companion resource.
4. Common beginner mistakes and easy fixes
Most beginner mistakes are fixable. That is the good news. Patchwork is forgiving in the same way a community table is forgiving: if you miss a step, someone nearby usually knows the repair trick.
Misaligning fabric pieces: This usually happens when corners are not lined up before sewing. A quick fix is to pin the pieces or use clips, then check the edges one more time before stitching. A tiny pause saves a lot of “well, that drifted” later.
Incorrect seam allowances: In quilting, a seam allowance is the fabric space between the stitch line and the edge of the fabric. If it is too wide or too narrow, blocks may end up the wrong size. A simple fix is to use the same guide or presser-foot edge for every seam and test a sample block before making a whole stack.
Not pressing seams properly: Pressing means flattening seams with an iron so the fabric sits neatly. Pressing is not the same as ironing a shirt back and forth. You usually lift and press, rather than slide the iron around. That helps keep the shape steady and the block more accurate.
For a plain-language refresher on basic sewing accuracy, the National Quilters Circle basics page is a helpful starting point.
5. How to get training from experienced volunteers
The easiest way to learn is to stand near someone who has already made the same mistake and survived it. Experienced volunteers can show you how to line up pieces, press seams, and sort fabric without overcomplicating it. Ask for a demonstration of one step at a time instead of trying to absorb the entire quilt universe in ten minutes.
Local quilting groups, church sewing circles, and community craft workshops often welcome beginners. If your area has a public library or community center, those are also good places to ask whether beginner-friendly sewing help is available. You can also look for online tutorials from established quilting educators when you want to review a step again at home.
When you need a site-specific starting point for support, the Support page is the best place to check for the current contact path and help options. If you are looking for a wider community overview, the homepage can also point you in the right direction.
6. Where to volunteer or ask for guidance
Community quilting often happens in a few familiar places: local quilting guilds, community centers, church groups, libraries, and event volunteer tables. If you are brand new, ask whether the group has a “new helper” task such as sorting fabric, pairing blocks, trimming threads, or passing finished pieces along to the next station. Those jobs teach the rhythm of the room without putting you on the spot.
Online forums and social groups can help too, especially when you want a second opinion on fabric choices or block layout. Just remember that the best answer is usually the one that matches your group’s pattern instructions. Quilting has opinions, and somehow they all arrive early.
If you want to reach out directly for general help, use the Contact page. For visitors who are still exploring the site, the blog index can help you find more beginner guides and community updates.
Quick glossary for volunteers
| Term | Plain definition |
|---|---|
| Patchwork | Joining small fabric pieces to make a larger design. |
| Quilt block | One finished section of the quilt top. |
| Batting | The soft middle layer that adds warmth and thickness. |
| Seam allowance | The extra fabric space left for stitching. |
| Pressing | Flattening seams with an iron so the block lies neatly. |
Start small, ask questions, and keep going
Patchwork quilting gets much less intimidating once the terms have names and the tools have jobs. Start with one block, ask for help early, and remember that volunteers learn faster when they are not pretending to know everything. The point is to join the community, not to arrive fully assembled like a finished quilt.
If you would like more general site guidance, check the Support page or return to the homepage for the latest navigation.