Photography Tips for Capturing Friendship Days Memories
Good event photos usually come from three decisions made before you press the shutter: choose better light, keep people comfortable, and avoid turning the camera into an obstacle. If you want memorable photos from Friendship Days, that is the standard to hold yourself to.
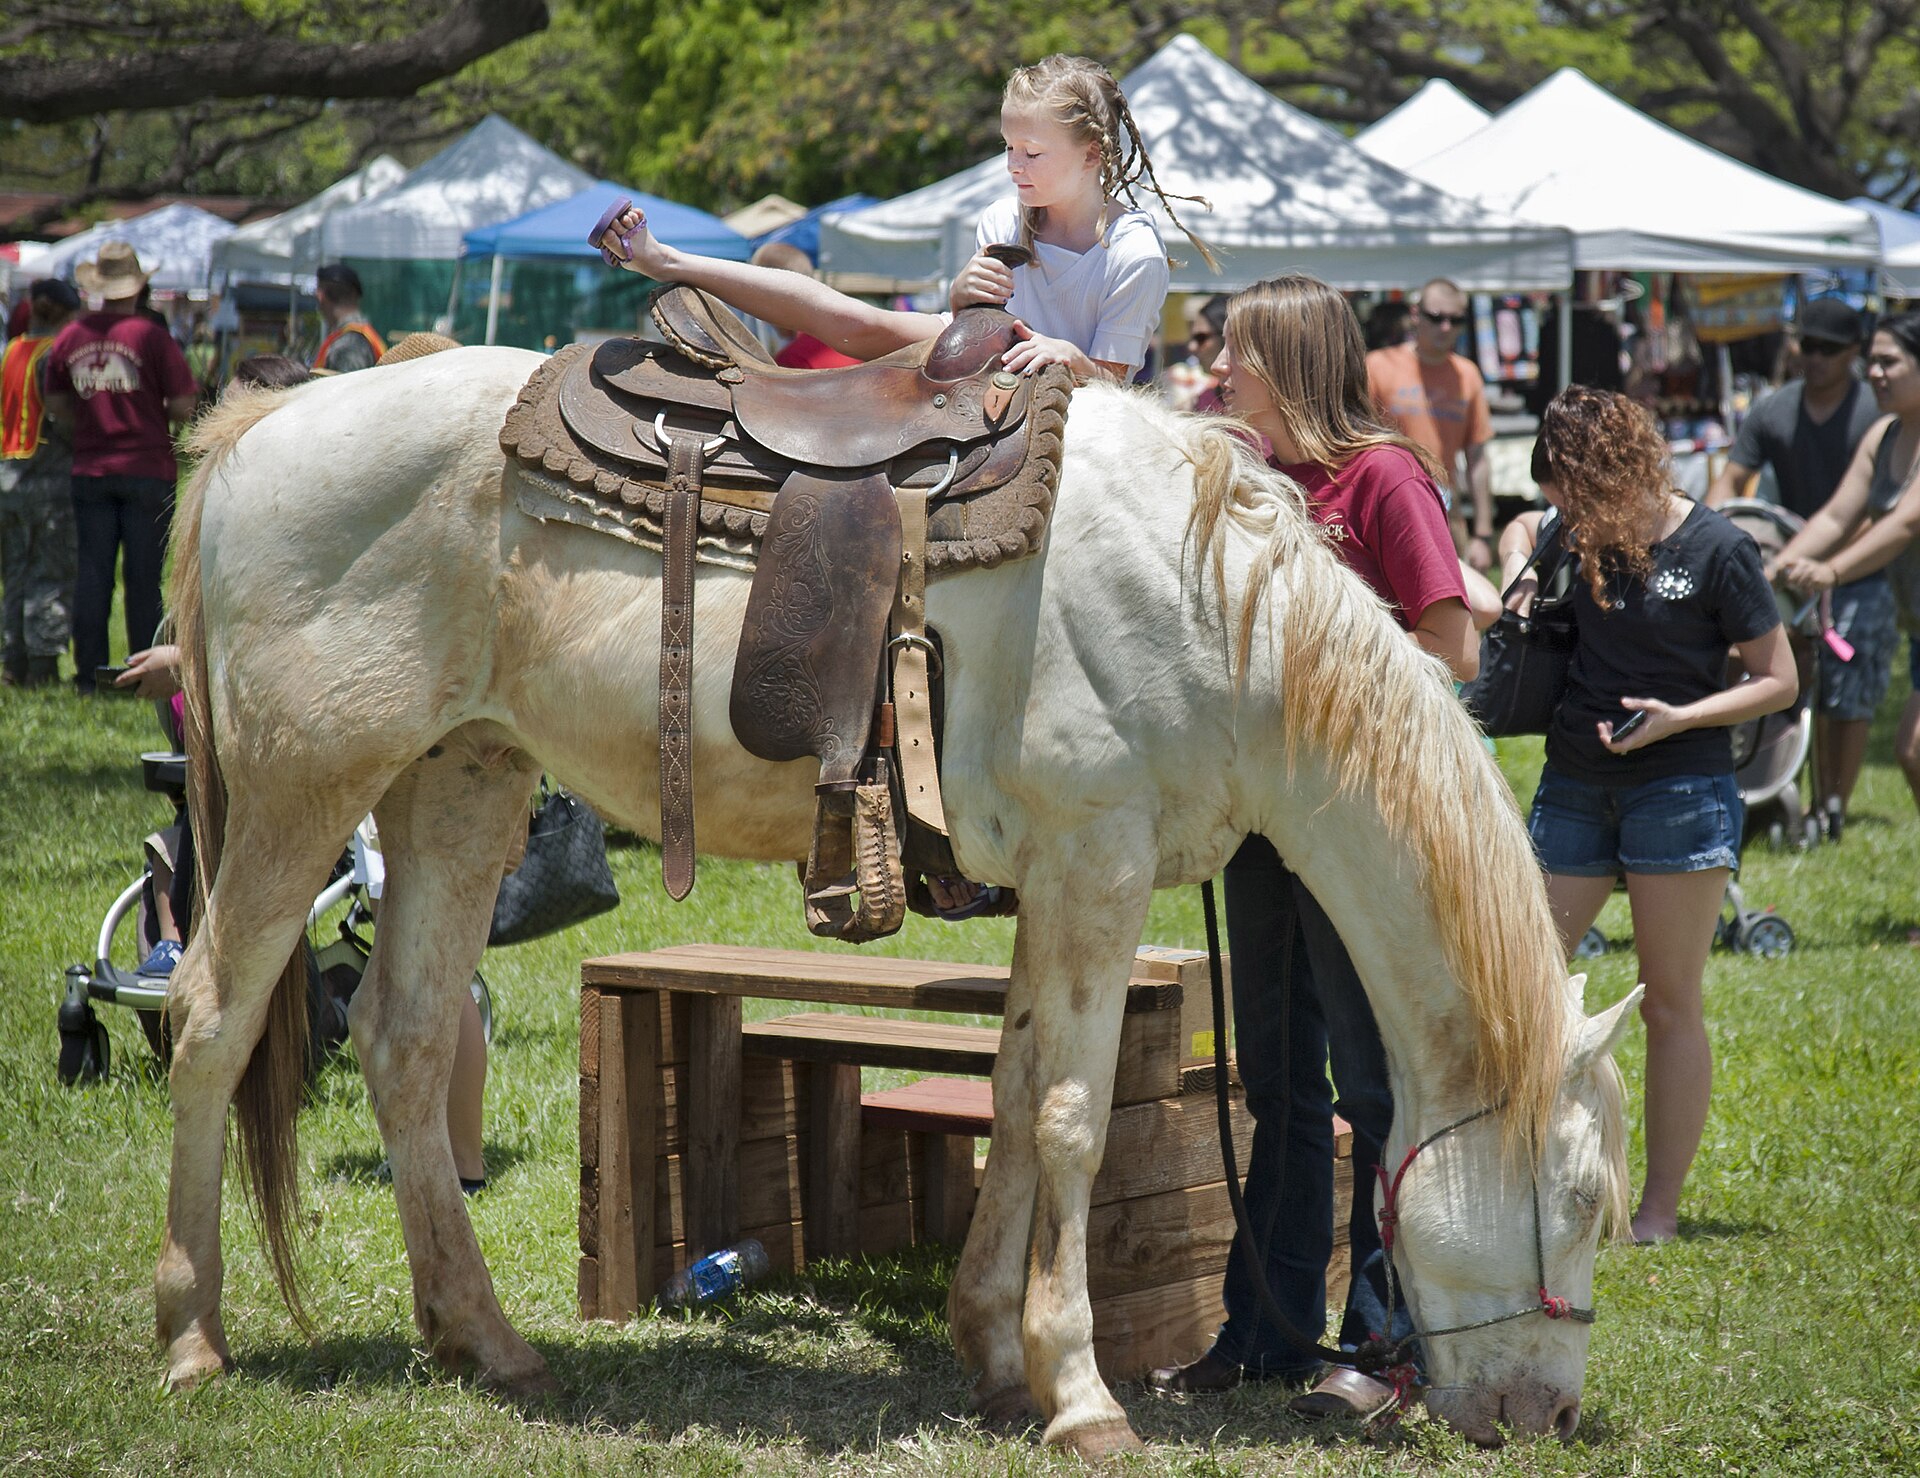
The photograph above is a reminder that a community event is not a studio. People move, children change direction, and light shifts faster than your phone menu. The safest approach is practical: work with the light that is available, ask before photographing people, and keep one eye on the walkway.
For a quick reference on event coverage, this guide is organized around six decisions: when to shoot, how to respect privacy, how to keep children safe, which phone settings matter, how to share responsibly, and where community photos may appear later.
Best Times and Lighting for Photography
Lighting does most of the work in a photo. If the light is poor, even a good subject can look flat. If the light is kind, ordinary scenes look clearer and more inviting. Adobe’s overview of the golden hour is useful here because it explains why early and late daylight tends to be more forgiving than hard midday sun.
| Time of day | What you will usually get | Best move |
|---|---|---|
| Early morning | Softer light, fewer harsh shadows, calmer backgrounds | Shoot faces and small details before the sun gets high |
| Midday | Bright highlights, deep shadows, and more contrast | Move into shade, turn your subject slightly, or lower exposure |
| Late afternoon | Warmer light and longer shadows | Use the light on purpose, especially for portraits and candid moments |
If you are shooting outside, the rule is simple: do not stand in the worst light and hope the camera will rescue you. Move your feet first. A few steps into shade or a better angle will usually help more than any filter later.
When the sun is overhead, look for buildings, trees, tents, or awnings that create open shade. Those spots often produce the most usable photos of the day because faces are easier to read and the background is less likely to blow out.
Respectful Photography Practices
Good event photography is mostly a matter of restraint. Ask before you take a close-up photo of a person. If someone says no, move on without debate. That is not a failure of the shot; it is simply the correct answer to a boundary.
- Do not step into a conversation or performance lane just to get a cleaner frame.
- Do not block a booth, path, or entrance while checking your screen.
- Do not lean over tables, ropes, or barriers for a closer angle.
- Do not use flash unless it is clearly allowed.
- Do not post a recognizable photo of someone who asked not to be shared.
When you are unsure, ask a volunteer or the person in the frame. A short question takes less time than fixing a bad assumption later. That is true for photography and for most public-life decisions, which is one reason the genre remains educational.
Kid Safety in Photos
Children move quickly, and crowds make quick movement harder to predict. If kids are in the frame, the first priority is safety, not composition. Keep the path clear, avoid backing up blindly, and do not ask a child to stand in a spot that forces them to dodge other attendees.
A few practical habits help:
- Stay out of walkways before you raise the phone.
- Keep children away from cords, equipment, food service areas, and vehicle paths.
- Use a parent or guardian as the point of contact before taking a portrait.
- Do not ask a child to hold a pose near a hazard just to improve the background.
- If the area feels crowded, wait for a safer moment rather than forcing the shot.
Sometimes the best photo is the one you skip because the environment is too busy. That is not overcaution. It is a reasonable default.
Recommended Phone Settings
Most attendees will use a phone, and that is fine. Modern phones are more capable than people often give them credit for. The trick is to use a few settings deliberately instead of trusting auto mode to understand your intent. Apple’s guidance on how to set up your shot is a good reference for focus and exposure, and its notes on Portrait mode are useful if you want a cleaner subject against a busy background.
Try these settings and habits:
- Tap to focus: Tap the subject’s face or the object you care about most.
- Lower exposure if needed: If the background is too bright, drag the exposure down a little.
- Use Portrait mode for people: It can separate a subject from a crowded scene.
- Turn on grid lines: They help you keep horizons level and place subjects more cleanly.
- Clean the lens: A quick wipe removes more blur than many people expect.
- Use burst or live settings for motion: Helpful when you are photographing a moving child or a performance.
If your phone offers manual controls, do not change everything at once. Adjust one thing, take a test frame, and check whether the photo improved. That is slower than guessing, which is exactly why it works better.
How to Share Photos Appropriately
Sharing is useful only when it respects the people in the photo. A good rule is simple: post what you would be comfortable seeing shared back with your name attached. If a person is central in the image, or if a child is identifiable, ask before you make it public.
For private sharing with family or other attendees, Google’s Google Photos sharing help is a practical reference for albums and link sharing. If you are posting to social media, keep the caption accurate and straightforward. Tag the event or community when that is appropriate, but avoid tagging people who did not agree to be identified.
- Share the best few photos, not every near-duplicate frame.
- Include context in the caption so the image means something later.
- Respect any request to remove or not post a photo.
- Avoid sharing images that show private details in the background.
- Prefer private albums when the audience does not need public access.
Public posts travel farther than most people expect. The safe habit is to treat every upload as if it will be seen outside your immediate circle. Because it might.
Where to Feature Community Photos
If Friendship Days publishes a community gallery, a recap post, or another photo collection, the home page is the first place to check for current updates. If you are not sure where a submission belongs, the contact page is the right place to ask before sending files or linking to an album.
If the organizers later want a simple submission, review, or gallery workflow for community photos, a web app builder is one practical way to sketch that process without making it more complicated than it needs to be.
If no public gallery is available, keep the sharing general. Post to your own feed, credit the event, and let the rest of the community discover the photos naturally.
A Simple Field Checklist
- Start with better light, not with more edits.
- Ask before photographing people up close.
- Keep kids clear of hazards and walkways.
- Use tap-to-focus, exposure control, and portrait mode when useful.
- Share carefully and respect privacy.
- Check the home page or contact page if you want to submit community photos.
That is the practical version. Not glamorous, but it works.
When you photograph Friendship Days well, you are doing more than recording an event. You are preserving the atmosphere of the day without getting in its way. That is the balance to aim for.